Essential Campervan Cooking Equipment and Must-Have Utensils
We’ve already discussed the need for a saucepan and a frying pan, yet these are only useful if you have a built-in gas hob or if you invest in a portable gas stove (
don’t forget your matches or some form of candle lighter. I have a USB charging one, it’s great, only a pound more than the normal clicker style and I can charge it easily in the van!)
Utensils – Campervan Kitchen Essentials Checklist
- Sharp knife
- Chopping board
- Can opener – although it’s easy to buy cans with removable lids these days but I carry one just in case – what if the local shop is the only place where you can buy a tin of beans for your lunch and you can’t open the can.
- Stirring implement – wooden spoon – suitable plastic ones are easier to clean.
- Spatula
- Ladle – only if making runnier dishes like soups and casseroles!
- A good pair of scissors.
- A mesh spoon, something to strain – easier than a colander – I took a colander on my first long trip and never used it, and it takes up too much space anyway.
- Dishes – bowls work for me, just two so you have a spare. Don’t bother with big plates, they take up too much room.
- Something to drink from – mug/plastic cup – it’s just you so one of each will suffice.
- A plastic wine glass – now, I’m not a connoisseur, but I like a decent wine glass. Think about it though, what are the chances your beautiful wine glass is going to survive the numerous potholes and bumpy rides around the country in your van? Talking of wine…
- Corkscrew OR you buy wine with screw tops OR boxed wine…
- Cutlery – two sets of a knife, fork, spoon (small and large) will suffice.
- Heat pads – cork-based pads to prevent scratching of your surfaces and to place a hot pan quickly!
- Plastic food storage tubs – I’ll put a reel onto Insta then you’ll see that they’re sufficiently small for storage in your tiny fridge or if you have a cool box but large enough for a decent sized meal.
- There’s always an air fryer, but I’ll get to that in a min! There are lots of buts here, but (ha-ha), you can mix and match. It switches it up for you so that food does not become a chore. And who wants that?
Nessie’s Nourishing Nibbles
Easy Campervan Meals on a Gas Hob or Stove
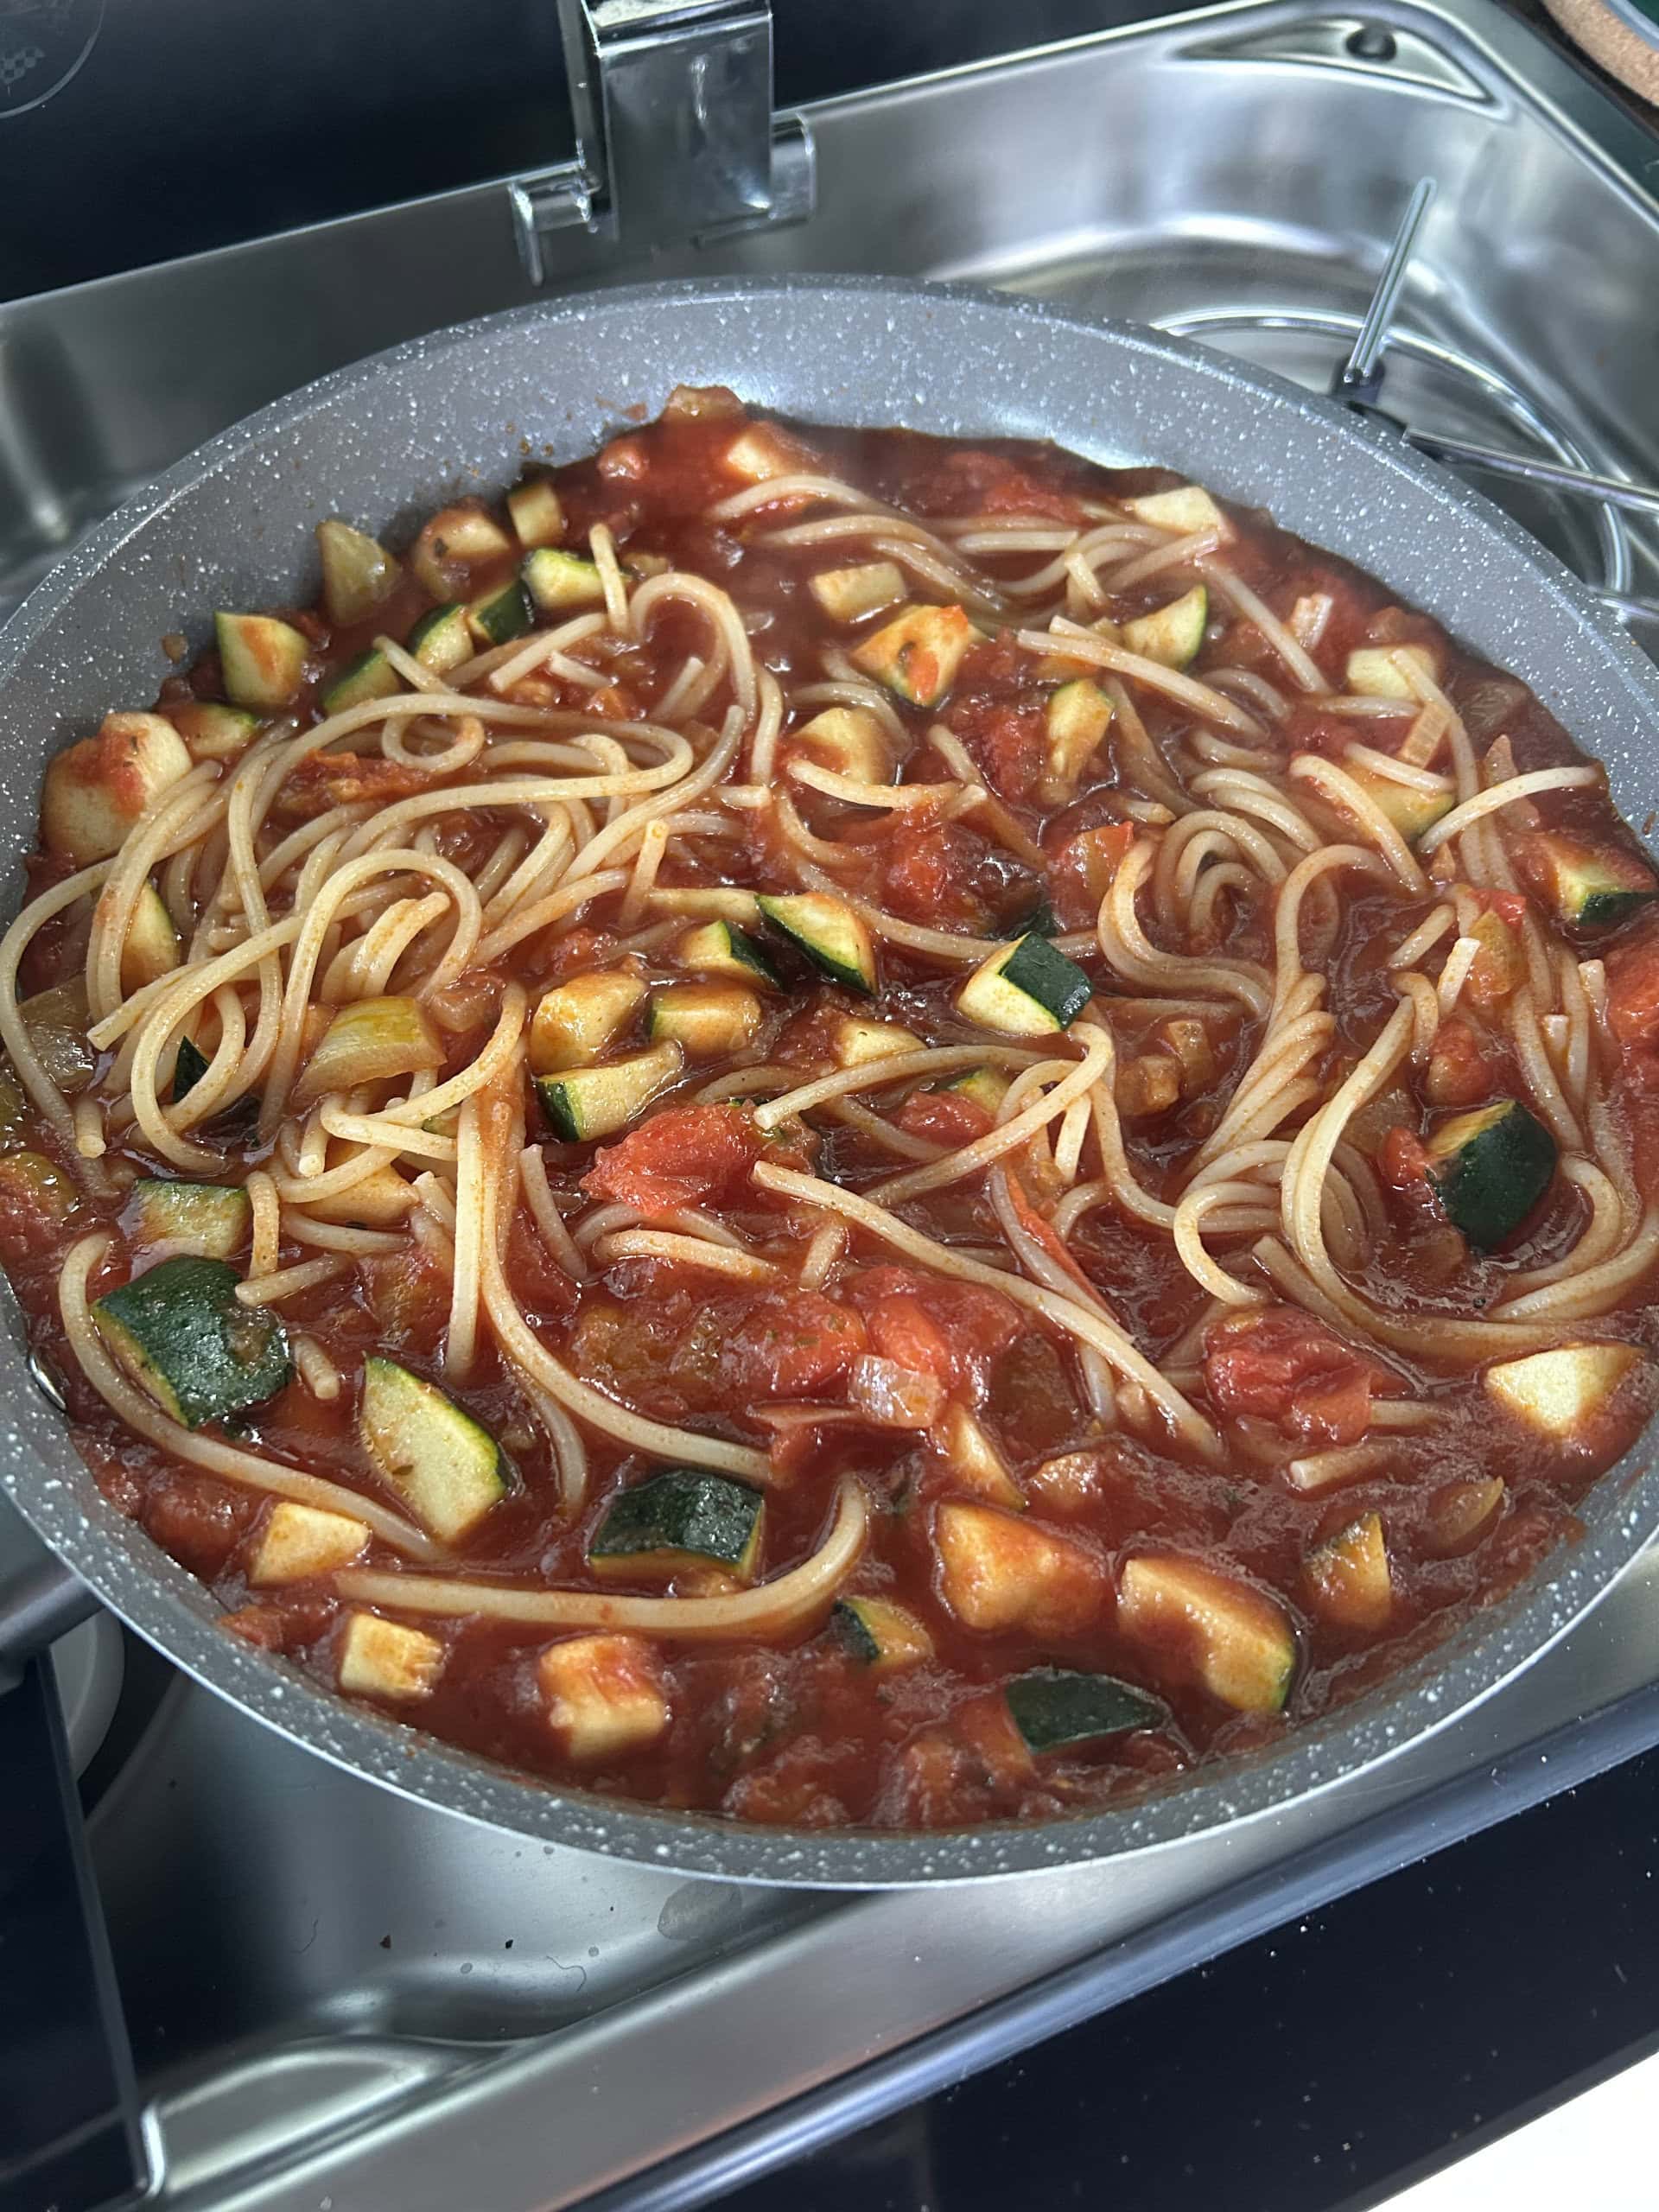
Spaghetti Bolognese (One-Pan Version)
It’s got to be spaghetti bolognaise first on the list, the variation of which will differ depending on your preference, or what you’ve got in the fridge/cupboard. Yes, I know, everyone makes a pasta dish, but it works, simple…
If you’ve not got much in, go for a simple version.
Ingredients – What do you need?
- 2 x tablespoons of olive oil.
- A tin of chopped tomatoes – breaks down more easily and quicker than plum tomatoes.
- An onion – not necessarily needed if time is short.
- 2 x garlic cloves – supposedly keeps the midges away – trust me, if you ever go to the Lake District or Northwest Scotland, you’ll understand.
- Another vegetable – I like a red pepper, makes the dish look more vibrant as well, or you may prefer a courgette, mushrooms, go wild! Seasonal vegetables are good to change things up.
- A vegetable stock cube – ⅓ litre of boiling water.
- Linguine (I prefer) or spaghetti – for one person roughly ⅙ of a normal sized packet.
- Seasoning – Himalayan salt better than table salt and black pepper.
Method
Boil the kettle of water first, especially if you only have one gas stove. Whilst you’re waiting for that, chop everything as you would normally.
Then (low) heat ⅔ of the oil in your pan, pop in the onion, then the garlic, then the pepper (or other vegetables). Turn the heat up for a minute or two.
Stir, lower the heat, and soften for about ten mins.
Add your seasoning – not too much as your stock cube will provide some.
Then add your tin of tomatoes and stir.
Add your stock cube with the boiling water and keep stirring. Heat at medium.
Before all the extra juice evaporates, break the linguine/spaghetti in half (in the packet is easier and then it doesn’t go everywhere). Place it directly into the saucepan, separate it sufficiently with a spoon, then add the remainder of the olive oil and dribble over the pasta pieces to stop them from sticking together. Bury the pasta under the juice and let it simmer (low heat). You’ve got one saucepan, you’re not at home and you need a meal quickly. Remember to stir frequently as even though the oil stops the pasta sticking, the juice will become thickened by the gluten. You may need to add more water.
If you fancy something more protein packed, use a plant-based protein, plenty around in the frozen section of the regular supermarkets.
Ok, now you’re going to tell me that you haven’t got a freezer. Well, some of us do – it is small, but if not, just use the frozen plant-based protein that day, or it will store in the fridge for a day without spoiling. Remember, some sites have fridge/freezer storage, but not all.
OR, if you’re a minced meat fan, use that instead, lamb or beef. I’ve never liked the stuff….
This will serve a couple of mealtimes so it’s a win-win.
Simple Coconut Quorn Curry for Campervan Cooking
Something spicy, easy peasy, but you may need two pans, depending on how you cook it, follow me…
Ingredients – What do you need?
Not to promote Quorn products necessarily, it’s just my preference, there are many home brands of mushroom/plant-based protein which will serve the purpose.
- Quorn pieces – because mince just isn’t the same!
- Onion
- Coconut oil 2 x tablespoons – easy enough to find in the world foods section.
- 2 x cloves of garlic.
- A vegetable stock cube and ⅓ litre of boiling water.
- Curry powder – medium – this is best unless you want to start forming curry pastes or adding individual spices which isn’t practical. You won’t have everything, it all takes up too much room, you won’t be able to find everything either when you need it and it’s a faff, so be sensible.
- Plant based cream (double) if you’re vegan but double cream (animal) will do if not.
- Rice of choice – easy cook is good to save time although basmati (brown) is healthier.
Method
Boil your kettle of water first and put to the side.
Chop the onion and garlic.
Heat your coconut oil in the frying pan, low heat, add the onion, then the garlic then pop the heat up to medium briefly. Add your seasoning – not too much as your stock cube will provide some. Keep stirring.
Turn the heat down and soften for ten mins.
Now add your curry powder – 2 x good-sized teaspoons or one good-sized tablespoon should do – you could add chilli flakes or a real chilli if you fancy a bit more heat.
Add the Quorn pieces and make sure they’re coated in the spices.
Keep stirring throughout, you don’t want to burn the pan.
Add the stock cube and boiling water to the pan, turn the heat back up to medium.
Let it bubble for a couple of minutes until the stock cube has dissolved.
Now, you could add the rice if you’re pushed but forget the cream otherwise it’ll just turn to a gloopy mess.
Simmer your coconut curry until most of the water has evaporated.
Take off the heat, add the cream, half an average size tub will do, approx. 100ml, and stir.
Now, I’m lucky, with a built-in hob, two pans can go on at the same time – it’s a bit tight though. If you’re using a gas stove, leave the curry pan to the side, put the rice on to cook, and when the rice is ready, stir the curry and return to a low heat for a couple of minutes.
And voila!
You could change this curry dish up by using sweet potatoes or chicken instead if you want to.
I’d also suggest simple ‘one pan’ meals. You can easily cook a load of veggies, alongside pulses such as red lentils (quicker to cook and will thicken it all up) and pearl barley – takes a little longer but thickens as well. Then you’ve got yourself a vegetable casserole, although you can add your choice of meat at the beginning but remember, we’re doing quick and cheap here.
There’s always a slow cooker but in my experience, I am too wary to leave it on whilst out or whilst sleeping…
Cooking in a Campervan with an Air Fryer
You may decide to keep it simple and just live off jacket potatoes for a while, nothing wrong with that, potatoes are great. They have plenty of goodness; sweet potatoes are more nutritious than white, but they fill you up and as long as you’re not frying them all the time, they are a staple food, especially when you’re out on the road. If you enjoy exploring, the carbs will give you the energy you need!
Now, you can do so much in an air fryer – the world is your oyster but here are a few simple suggestions. Before you begin, line your tray with greaseproof paper.
- Roasted spicy cauliflower and sweet potato –
dice them up, quicker to cook and easier to manage, coat them in some chilli flakes and general seasoning or you may like peri peri salt or sweet chilli sauce (
any veggies will cook nicely, just be careful of cooking times; cauliflower and sweet potato take a while to cook whereas broccoli and courgettes don’t. Add your veggies at separate times according to average cooking time if you’re going for a mix and just keep checking, you do not want a burnt offering or a pile of mush AND a dirty, messy tray when it’s all leaked to the bottom!) - Salmon with lemon and garlic –
wrap in greaseproof paper and line with more greaseproof paper to prevent the juices running everywhere – doesn’t take long to cook, try 180⁰C for ten mins,
check halfway through to turn.
If you like the skin crispy, keep it facing up. Or if you like a minimal bake, take it out sooner. It’s all about preference. You could cook a form of carbs to go with this, possibly a couple of baked sweet potatoes beforehand. - Potato wedges with haddock –
I prefer haddock to cod – it’s sustainable depending on where it’s sourced from – but I just prefer the texture, and it doesn’t seem to dry out as much as cod does and is tastier to me. Season your potato wedges to your liking, make sure they go in to cook first and add the fish about ten mins before the end. To get minerals in there, add veggies when there’s five mins to go. I like courgettes because they’re quick to cook but a chopped red pepper would serve well here. ‘One pan’ cooking is always my aim. The meal is ready in one go and you save on washing up too! - Chicken fillets or goujons – again, same with fish, wrap them first unless you buy prepared, coated ones. You can cook whole chickens and joints of meat in an air fryer, but do you really want that for one person? Unless you have ‘cool’ storage, then you’re sorted.
Final Thoughts on Van Life Cooking
Remember, for air fryer cooking, line the tray then you can just wipe it out afterwards. Less washing up overall, quicker cooking time and it can be left whilst you do something else in the van BUT only applicable when:
- EHU available if you’re using a standard 230-240V power air fryer.
- OR if you have an inverter (converts the low- voltage 12V DC power from a leisure battery into the higher-voltage 230-240V AC power). BUT, you must check the wattage of the appliance and what your inverter can handle. Inverters are available from 150W up to 3000W but the inverter, the battery and the wiring must be correctly matched for it to work efficiently and more importantly, to ensure that it is safe. For example, air fryers require inverters at a much higher wattage than for say a laptop. The best option is to seek expert advice from a qualified electrician and someone who is approved by the National Caravan Council before you purchase.
Although, as already mentioned in my van essential checklist blog, you can purchase 12V electric kettles, they have now produced low voltage air fryers too. From the ones I’ve researched, they are more expensive, but I haven’t tried them out yet so unable to tell you whether they are any good.
Look at www.oneclearwinner.co.uk to see the list. They can all be purchased from Amazon at various prices.
My air fryer is a 230-240V (mains voltage) powered one and I need EHU to use it, but it only cost me £49.99.
Easy breakfast options and lunches on the move coming soon, until then, eat well……………